7 Likes
What kit did you use for joysticks/buttons? I would love to get the arcade setup.
2 Likes
I bought all the parts separately on Amazon.
1 Like
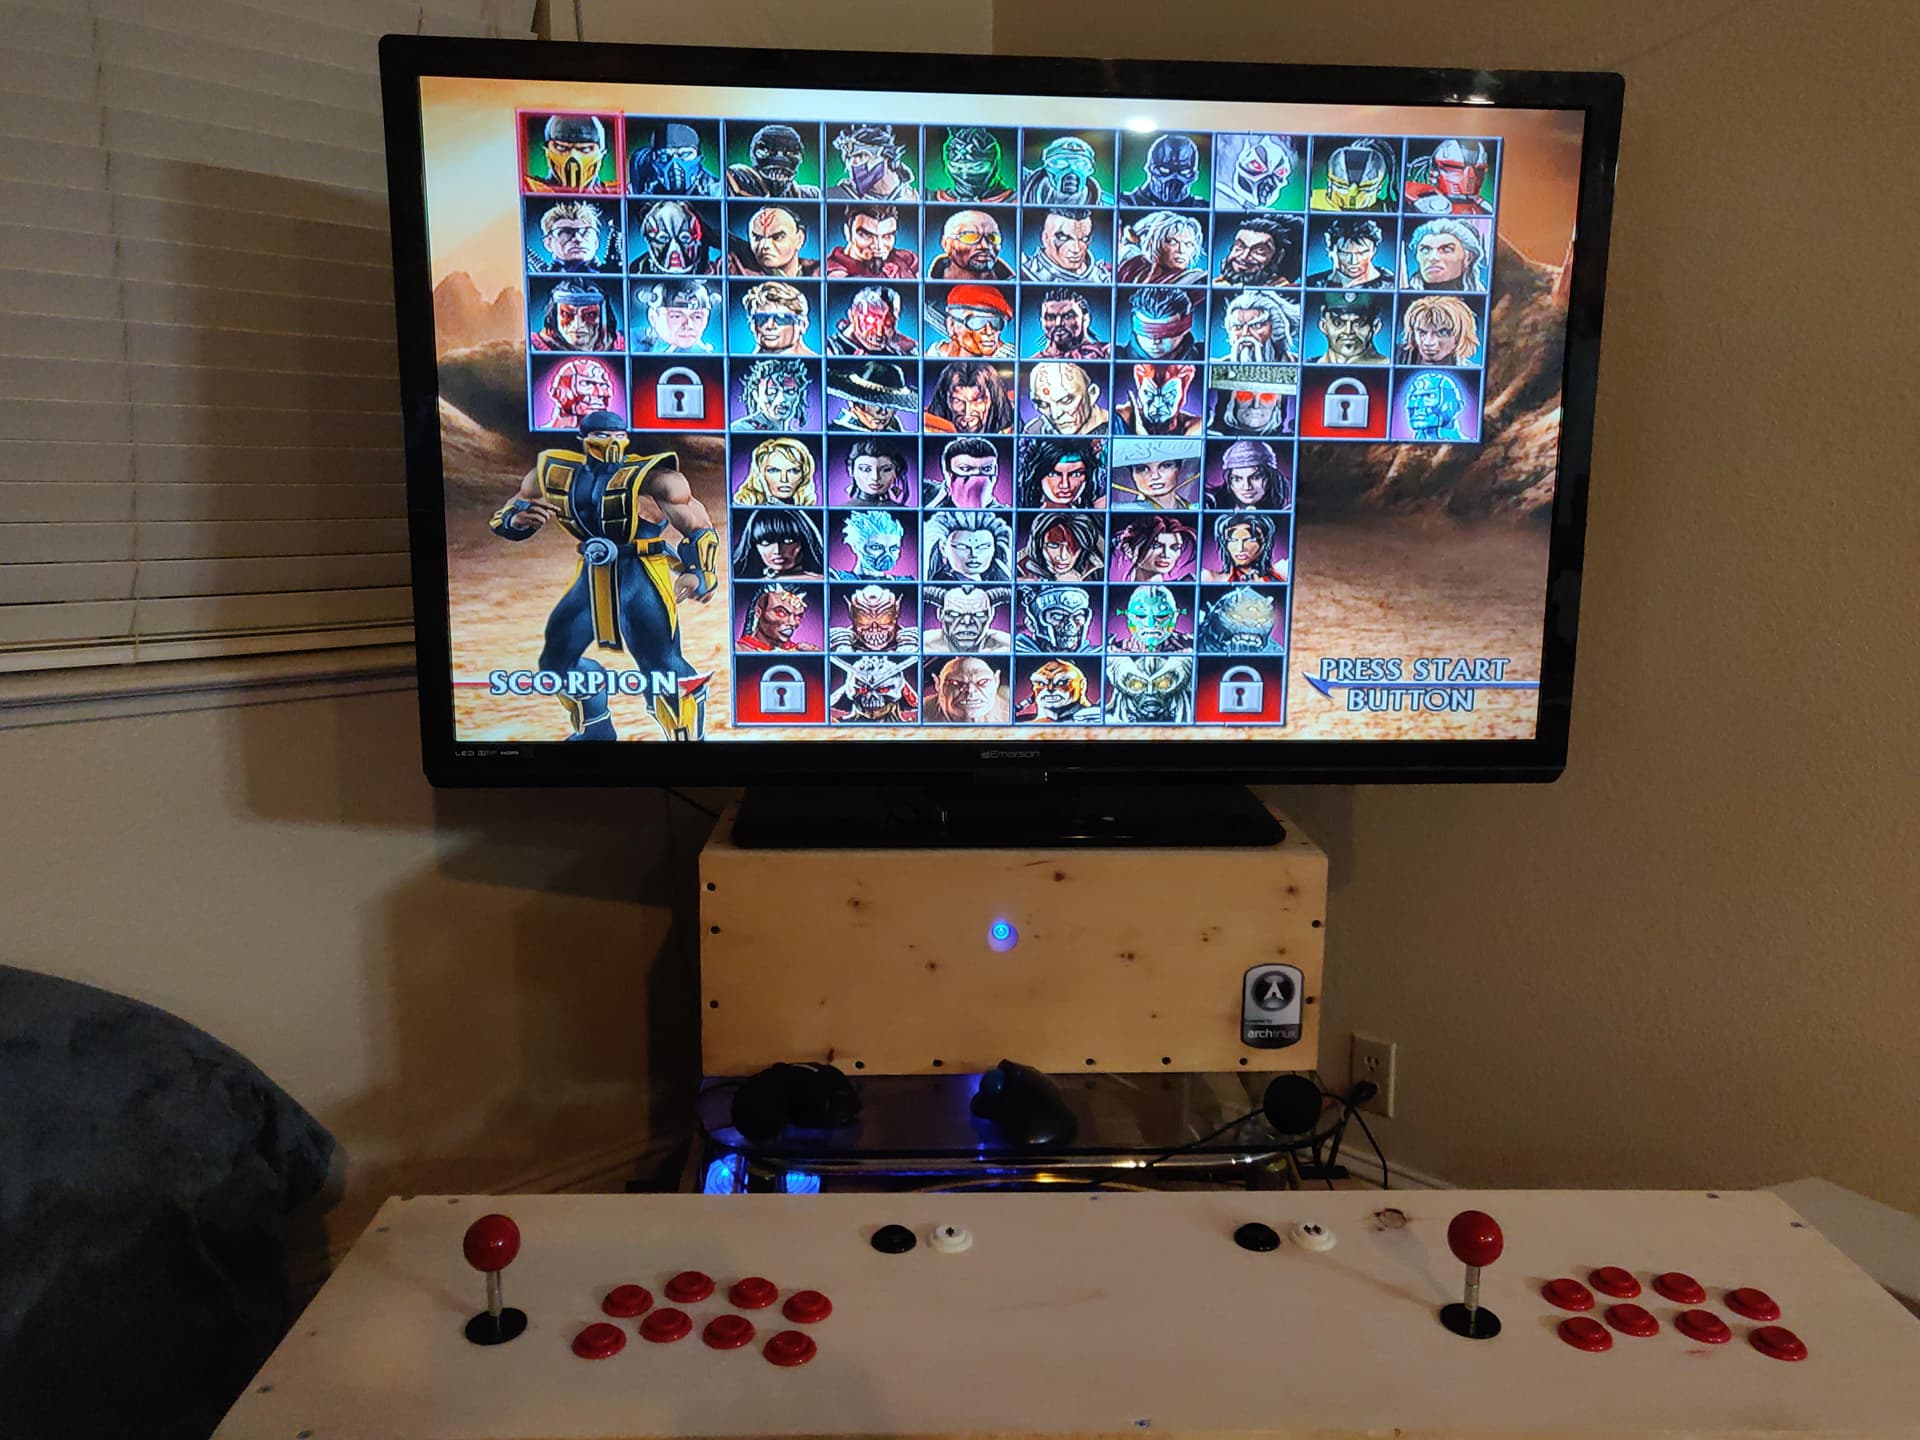
It’s like a time warp every time I play. I just used all the old parts from other PC’s I’ve since upgraded.
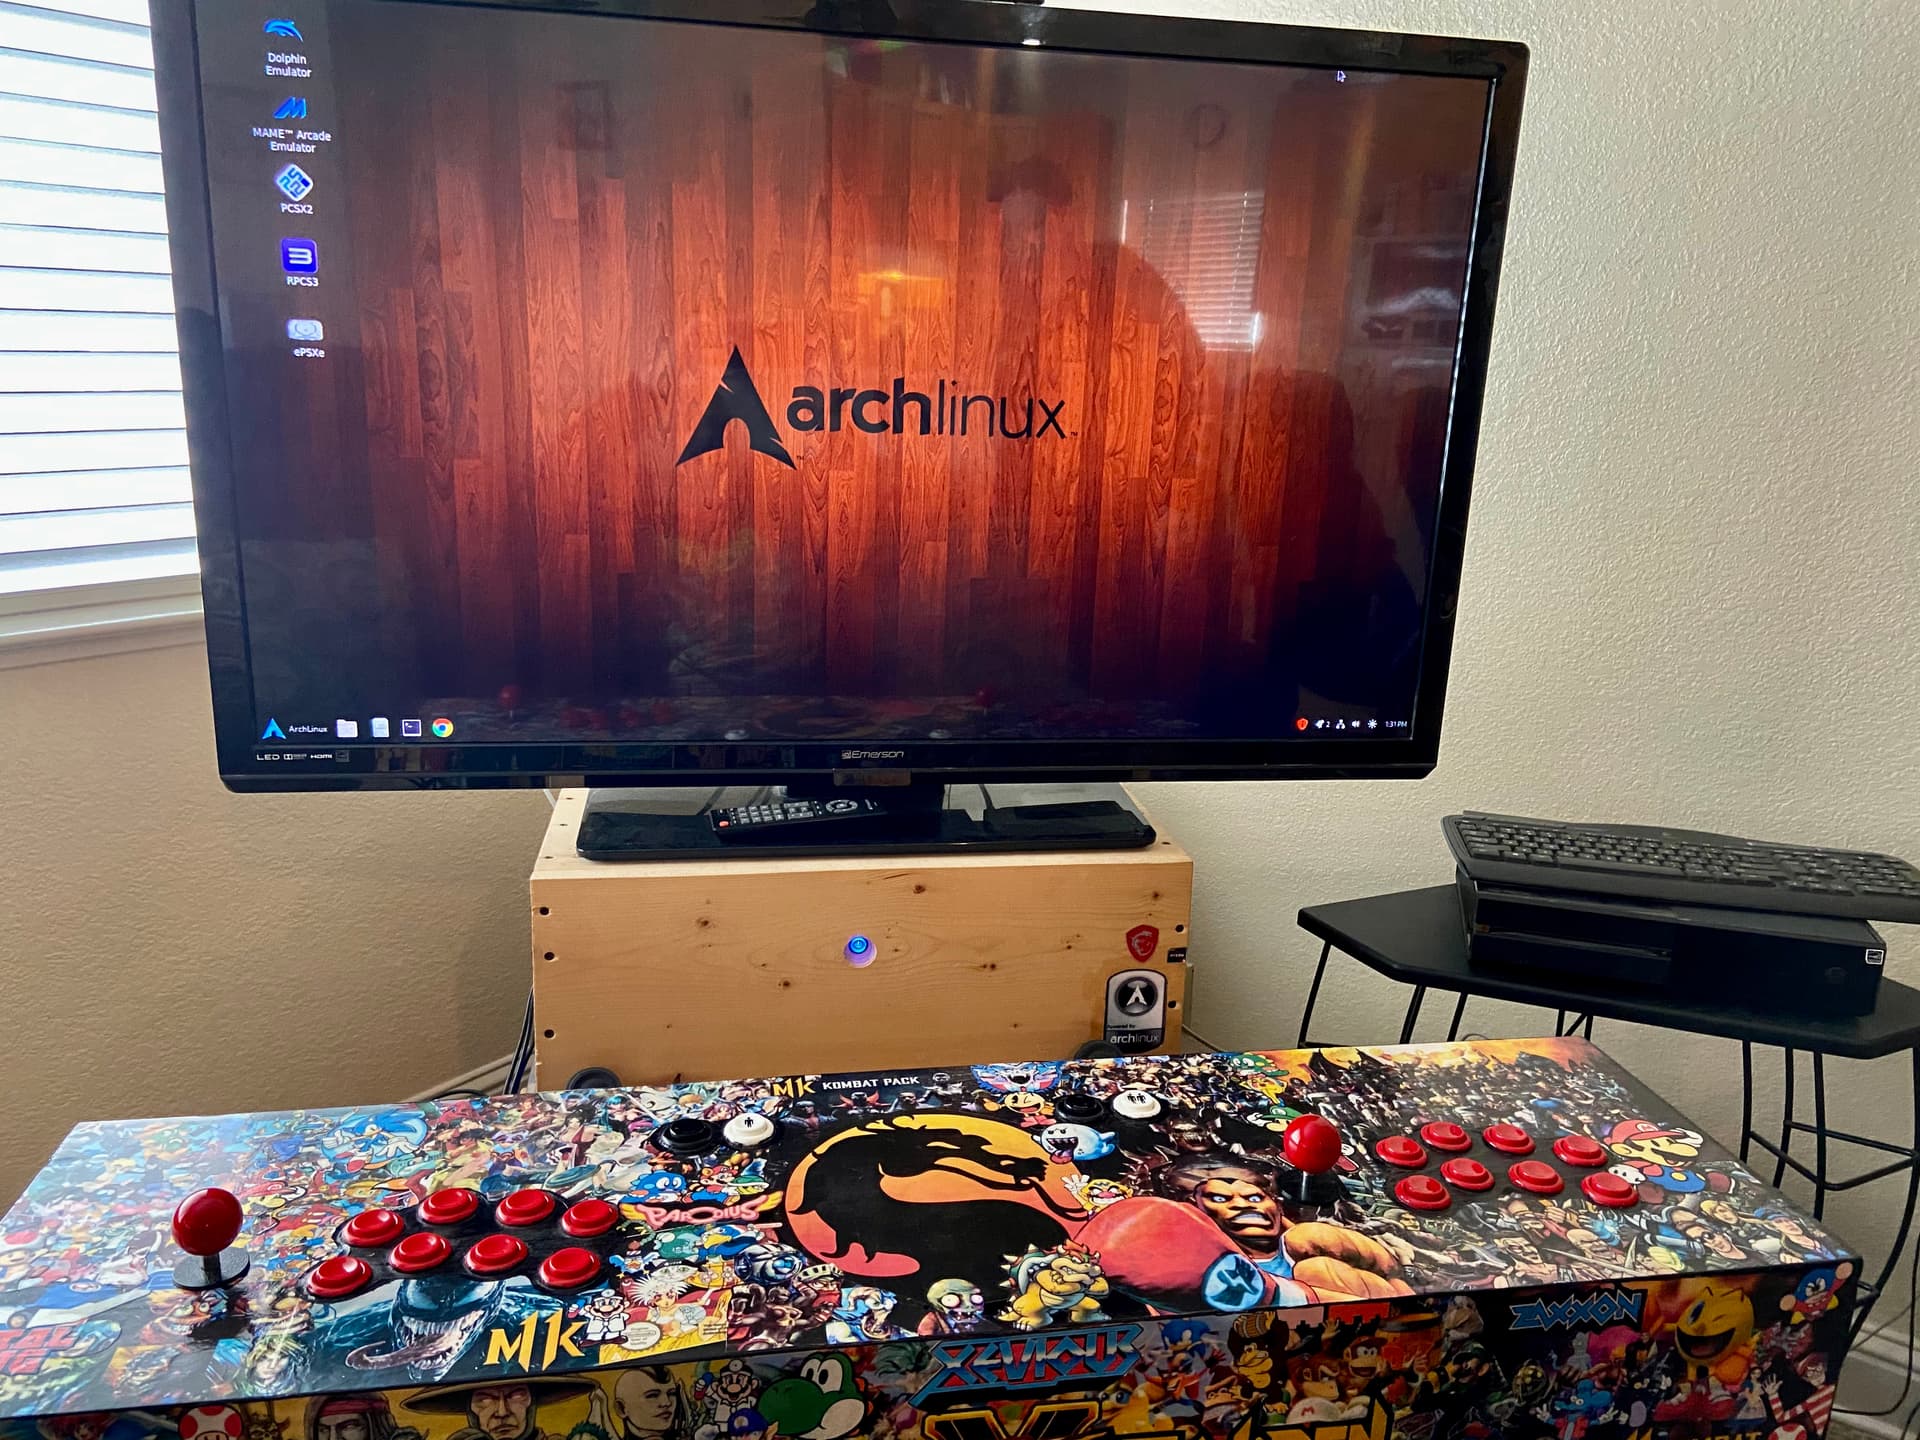
Name= “WoodBox”
R9 380 GPU
8 gb ram
MSI B450M PRO-M2 MAX
A single power button with blue LED
In a open back pine wood box
Mame and many other cool emulators
Awesome, thanks for the list! I have a Pi that I can use for it, maybe can snag a spare outdated PC from work too…
1 Like
That is really cool. I have a pre-usb Happ dual controller I’ve been meaning to rebuild. Seems I can use the usb encoder you’ve linked and manually route over the joysticks and buttons for both players.
Could you speak a bit about your graphics application. More photos of it would be cool as well from the top and sides.
Did you add side buttons for pinball?
1 Like
Hey thanks!.. As far as the graphics I just printed a bunch of Mascots and logos with our Epson eco-tank and went to town with the scissors then glued them on , Hours and hours and hours of cutting and gluing then 4 clear coats .
No side buttons, but I like that Idea!
What does a person have to make to be a “maker”?
My grandma crochets. I think you just have to make something.
1 Like
…yes sir!..
1 Like
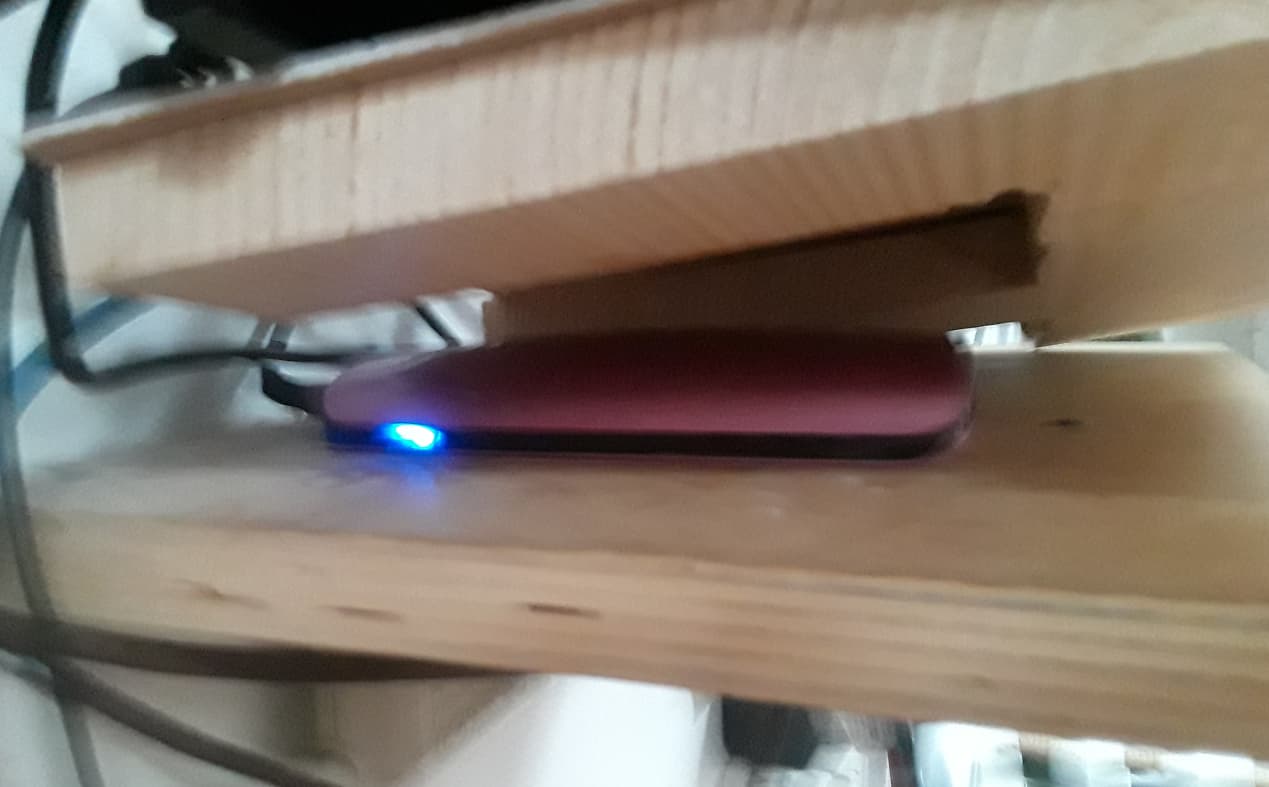
I made this ugly shelf a few days ago to put up in the shop for a router and PoE switch. Secured with Alien Tape haha! We’ll see how well that holds.

2 Likes
Make it a modern art exhibit, 10/10 will pay for itself.
3 Likes
I like it. I added a secret shelving “layer” at my old house, immediately below the router itself. Things would be occasionally disconnected by roommates, etc.
I cut the shelf as three layers…
Smooth thin painted top layer.
Middle layer with sections chopped out to fit a raspberry pi + thin 2.5" disk.
Bottom layer just as you have in your picture.
Leave about 1/2" space along the back for cabling to pass through.
2 Likes
Hell yeah! Maybe hit it with a propane torch then clear coat it. I’m a big fan of what works!
It doesn’t compare to a banana taped to the wall.
It’s only temporary which is why I didn’t properly mount it to the wall. Its in a dusty environment so it should be enclosed. I am thinking I might built a floor standing unit to fit a rack sized device and a couple PCs I use for servers. I’d go with cherry or hickory with linseed oil and clear finish.
2 Likes
You’ve enriched all our lives @Ethanol
1 Like
Anyone want to buy my art? I glued some of our blueberries to a piece of wood. it’s only 100000.00 you’ll save 20000.00!
In an effort to finally try and manage the cables on my desk I made this extra leaf with a slot. The desk is a second hand dining table that I refurbished years ago. It has a butterfly leaf extension and the cable slot fits on either side when the extension is in use or down the middle when it’s not.
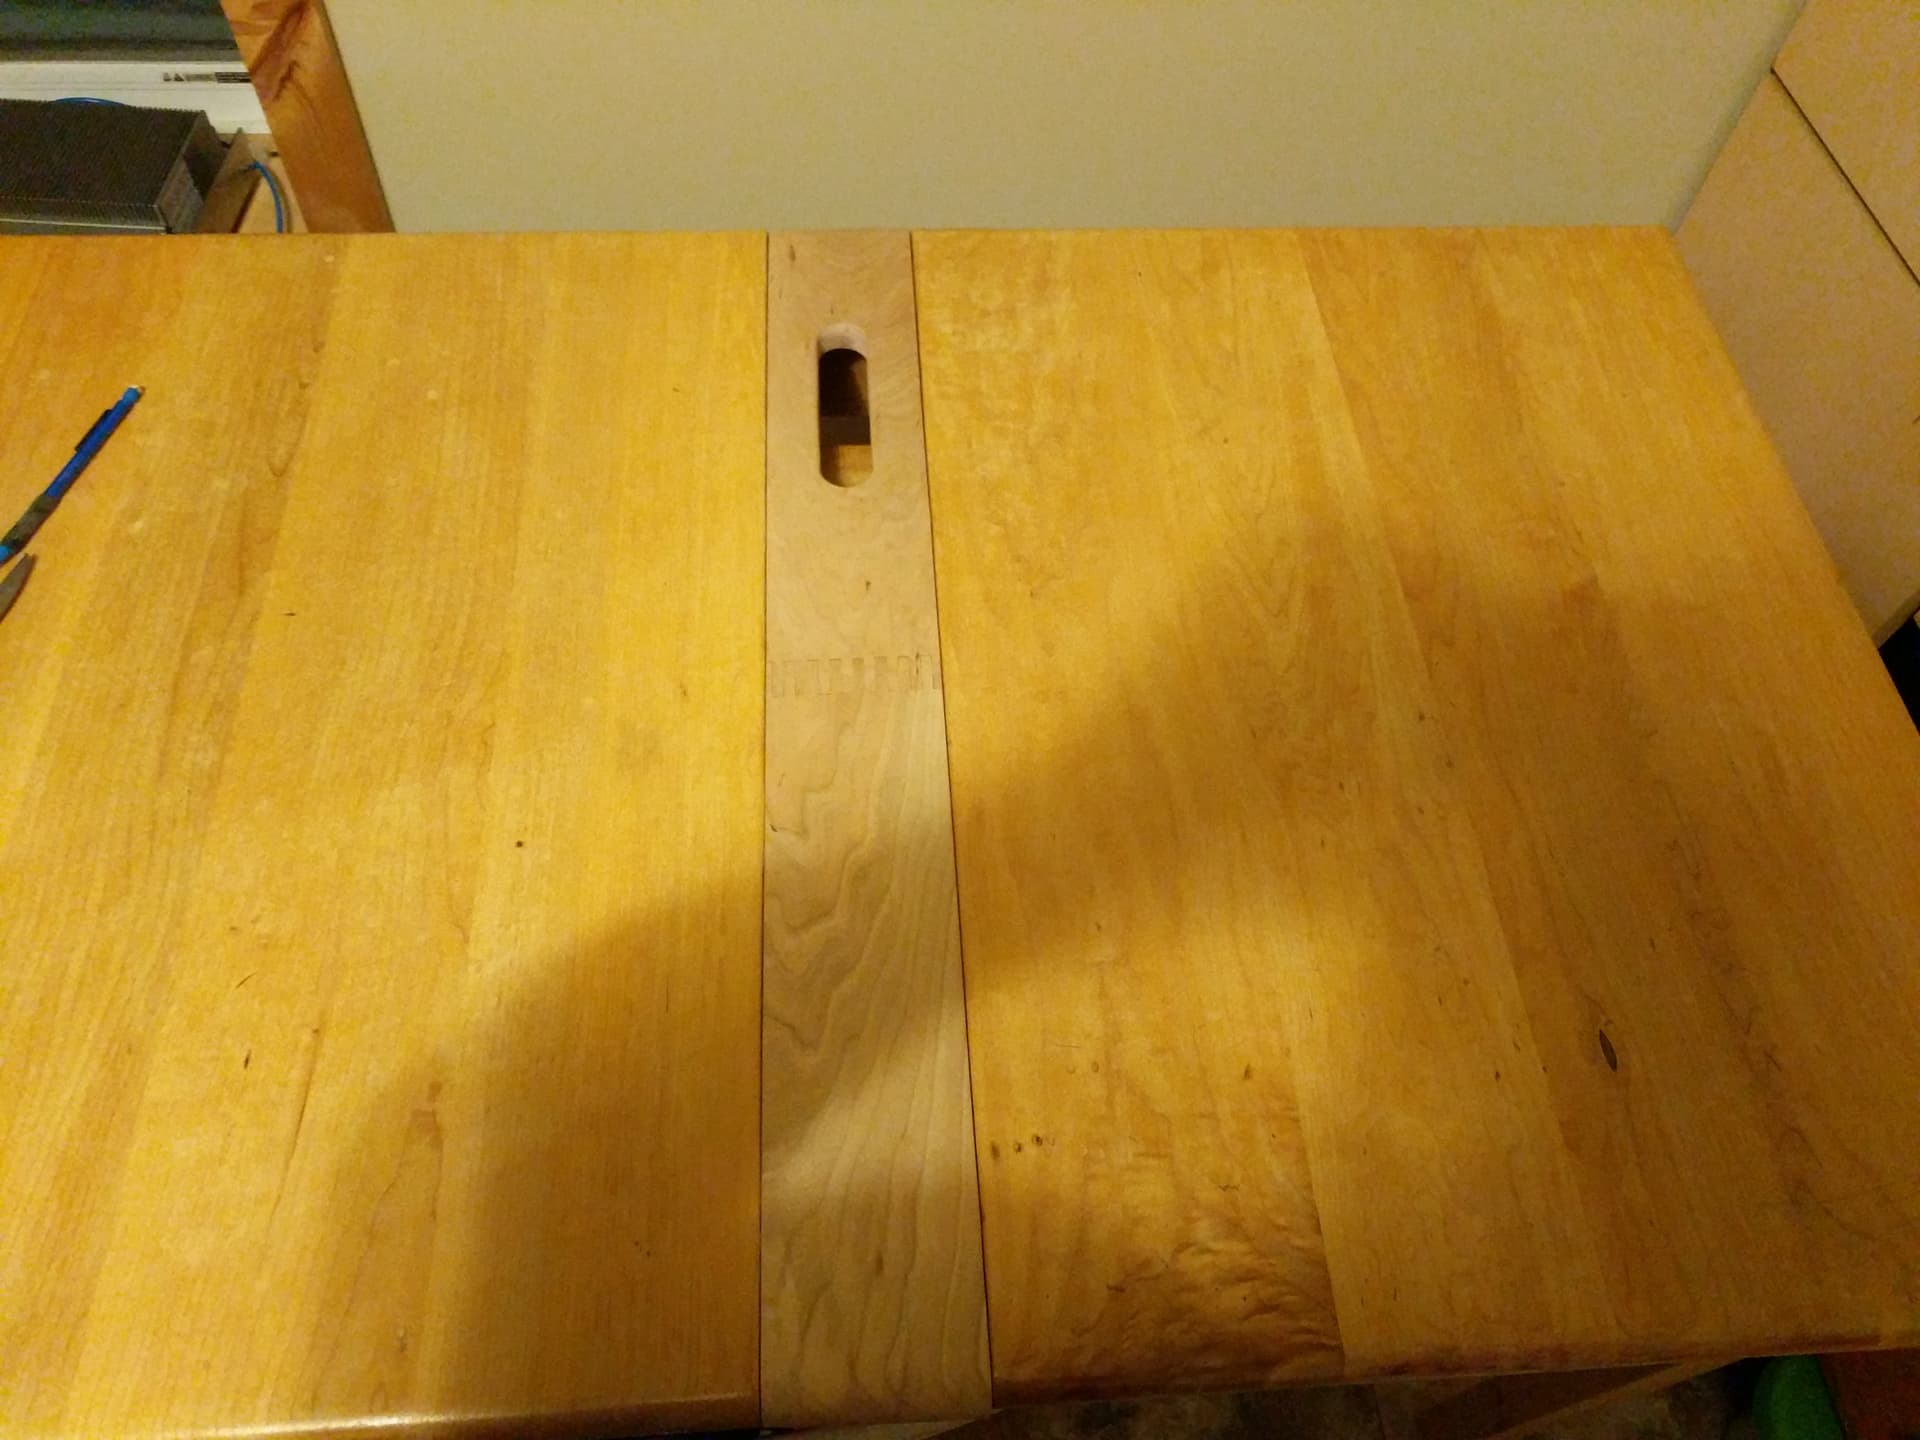
Sure beats drilling a hole in the table top. Needs some oil and a clear coat still.
4 Likes